Hi there!
Finally In-fill time.... Yippee!

First I have to tell you about this. They are shimmer additives for acrylic. I am so happy I found them, I thought I had lost them forever. Once again they were in a box of "Where did I put that?". I bought these when I was in beauty school ( that was 10 years ago!) Acrylic has change alot in the last 10 years & you had to add your effects into the acrylic powder if you wanted something really cool & different. Now you can buy all sorts of pre-mixed acrylic powders with sparkles, glitter & stuff! But at the time this is what you had to do.
Start from top left. White Shimmery Rainbowy powder, Dark Pinky Shimmery Powder, Bronze Shimmery Powder, Gold Shimmery Powder, White Rainbowy Glitter Sticks, Peachy Pink Shimmery Powder, Sliver Shimmery Powder, White Rainbowy Glitter. They don't have any cool names like acrylic powders do now just code numbers. These powders aren't acrylic they are additives so when you use them you have to mix them with acrylic powder for them to work.
I have made a custom colour for my In-fills out of White Shimmery Rainbowy, White Rainbowy Glitter Sticks and French white.
Before I get to carried away let's get to the tutorial
This is what I have used.

I'll start from top left, in the little bottle with the white lid I have made a custom colour for my french tips. Next I make little aluminium bowls by moulding the foil over a nail polish bottle lid ( I'll have to show you how I do that one day) to put the custom colour in. The sliver jar is Acrylic liquid ( monomer). My personally marked Dual System Nail Forms ( I have marked each L & R, & which finger they go on.... that's another tutorial to show you). My acrylic brush, Some paper towel to wipe the brush. Not pictured a nail file & some top coat.
It is very important to prep your hands & nails before you start. Wash your hands thoroughly, Use an antibacterial product on your hands & nails also. Push back & tidy up your cuticles, this is really important to stop lifting so take the time to do this properly.
I have already done this step, I've also filed down the acrylic & used a nail drill/file to take away the bulk from my free edge. You can also see that I've taken off my ring (number 4L) acrylic nail. I seem to always have problems with this acrylic nail (on both hands) with really bad lifting so every now & then I re-do the whole nail.

If you can see in the pic where the acrylic has grown out on my index (number 2L) finger, where the luna (moon at the cuticle) is. It may not look like it's grown that much but as I keep saying I get impatient & do them as soon as I can.

Side view of nails prepped & filled. Next is to use an anti-bacterial wipe (Sani Cleanse) on the nails. Then apply adhesion enhancer to the nails. The acrylic products I use doesn't need primer just adhesion enhancer. (Sorry no pic of this step)

Apply the custom french colour into the Dual system nail forms. I have marked the mould on the other side before hand so I know where to put the french smile line. I normally do my french a little less curved but I thought I'd try a deeper smile line this time.
Both sets done with the custom french colour & ready to put the pink acrylic in the nail bed & apply to the nail. I haven't got any pics of me doing this as you have to work really fast & I need an extra set of hands to put the acrylic in the mould, apply to the nail & take a pic all at the same time.... Sorry!

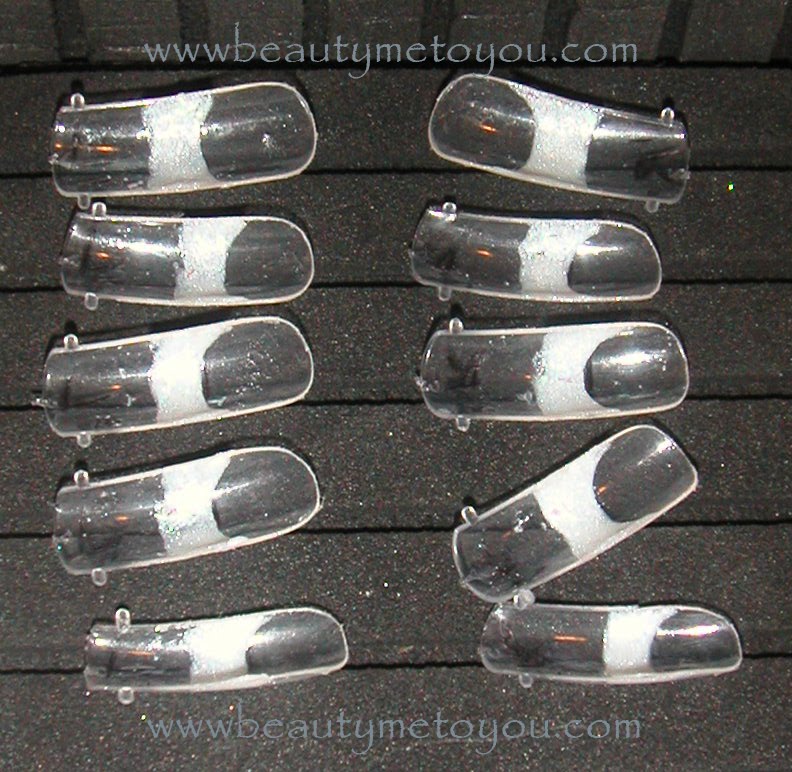
Dual System Nail Forms applied to my left hand & waiting for them to set. The black mark at my smile line is my guide for where to put the french acrylic.

The moulds can be applied all the way up to the cuticle to have a seamless finish.

Side view of my left hand. The acrylic takes about 3 minutes to set so while one hand is setting you can do the other hand.

Pop the moulds off, they really do come off very easily. See how shiny they are! There's no need to file & buff the surface of the nail because the mould makes them smooth & glossy.

Side view of my left hand.

File down the length & tidy up the sides. I've done only the left hand for this tutorial but you can see the right hand moulds ready to go in the background, notice the glare off the inside of the moulds? That's why you don't need to file & buff the surface of the nail...... what a shame it would be to ruin the shine by buffing the nail.

Apply a top coat to protect the acrylic & keep them supper shiny. The custom colour doesn't show in the pic that much but it adds a little something.
All done!.... How easy was that?
Now I have to do my right hand & because I have the moulds it is so much easier & my nails come out perfect every time.
I hope you enjoyed reading this tutorial & if you have any questions feel free to ask me.
Bye for now!